Before you can use any of WhitePanther’s productivity features, you need to sign up and create your workspace.
This section guides you through creating an account, selecting a provider, inviting teammates and setting your preferred appearance.
After these steps, you’ll land on a dashboard where all other features await.
1.1 Creating an Account
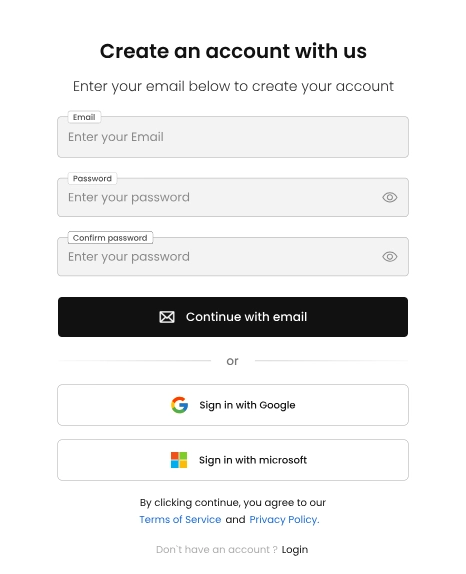
If you already have an account, click “Login” at the bottom of the sign‑up page to return to the sign‑in screen.
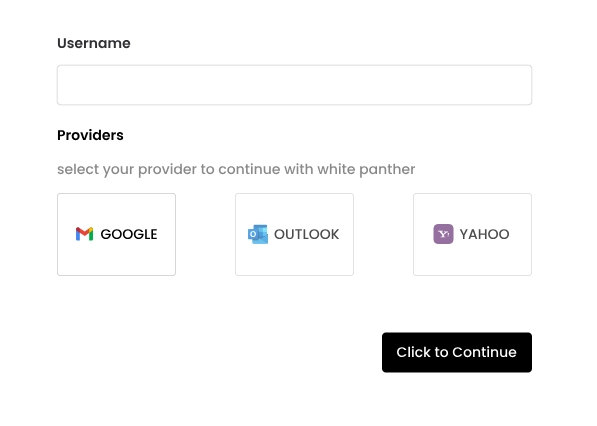
1.2 Pick Username and Login
1.3 Creating Your Workspace
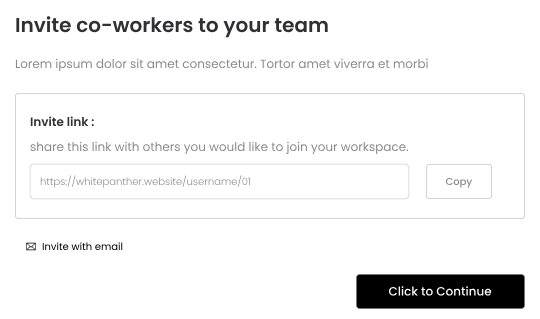
1.4 Inviting Team Members
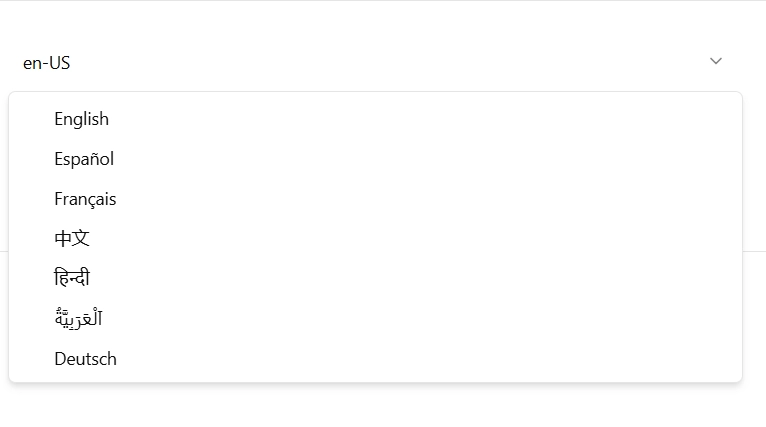
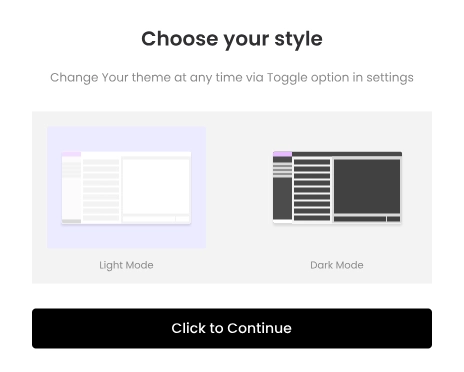
1.5 Choosing Your Style
1.6 Landing on the Dashboard
Once you complete these steps, White Panther opens to a chat‑like home interface. On the left navigation panel, you’ll see buttons for all White Panther’s features: Mail Drafting, Teams, Calendar, Storage, Marketing, Collaboration, Payments, Capture and Time Tracker.
Email Drafting helps you write and send messages directly through your connected email account (Gmail or Outlook). You can compose messages, generate content with AI, and save reusable templates.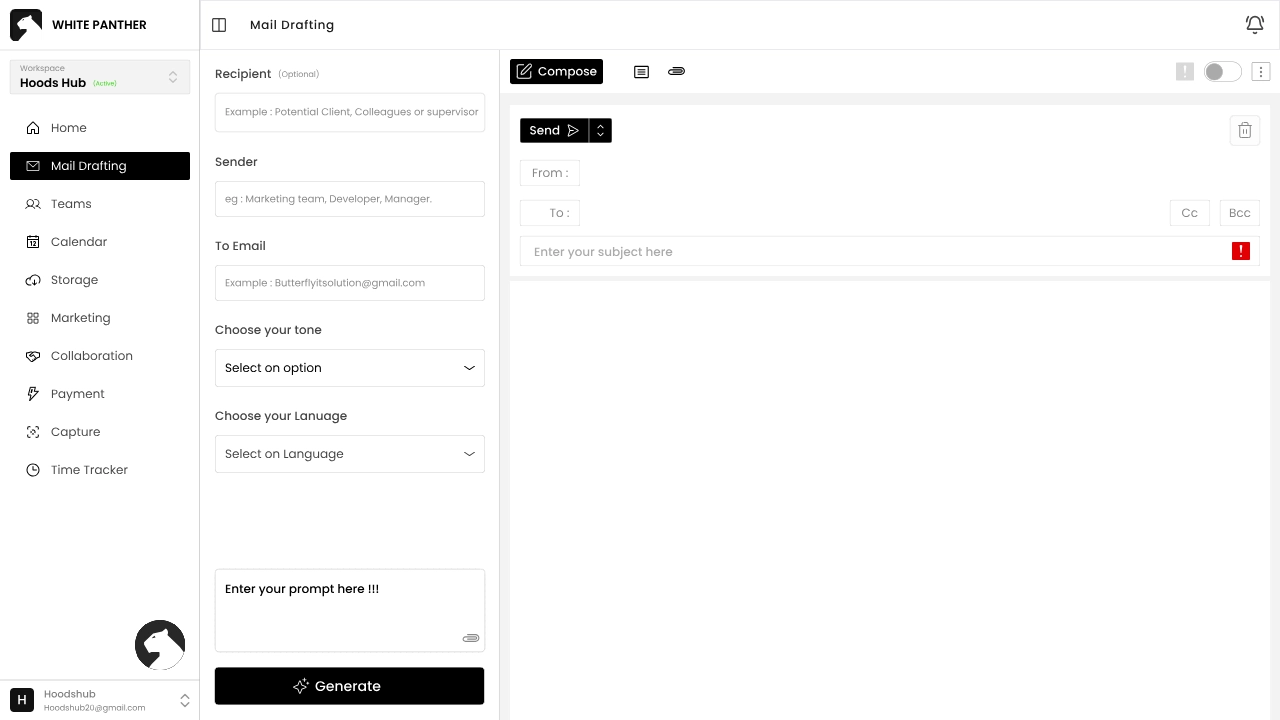
2.1 Composing an Email
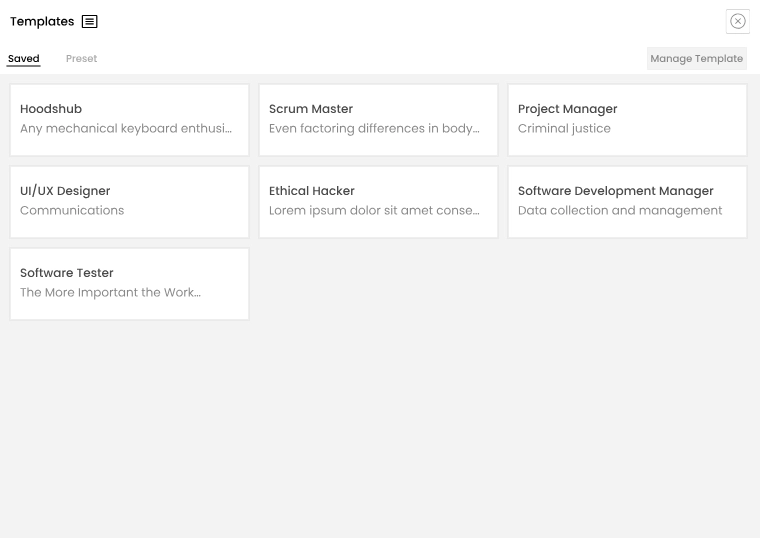
2.2 Using and Creating Templates“
White Panther includes a template system to save time with repeated emails.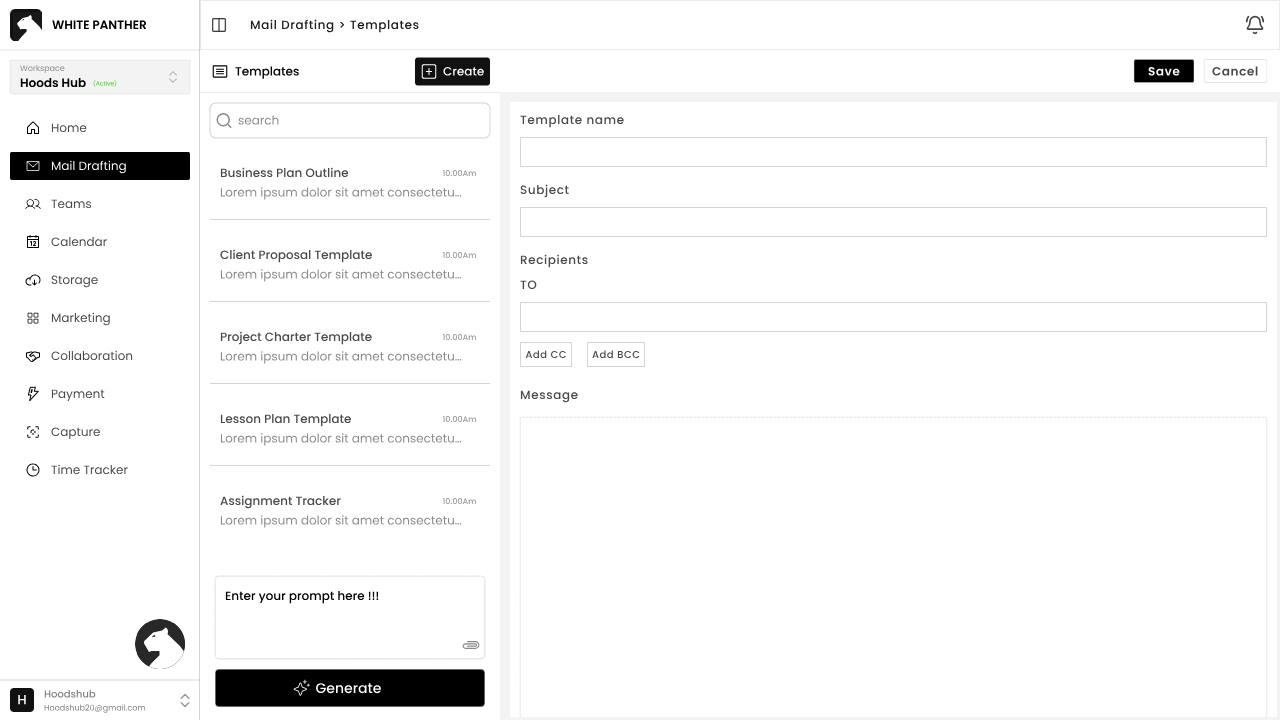
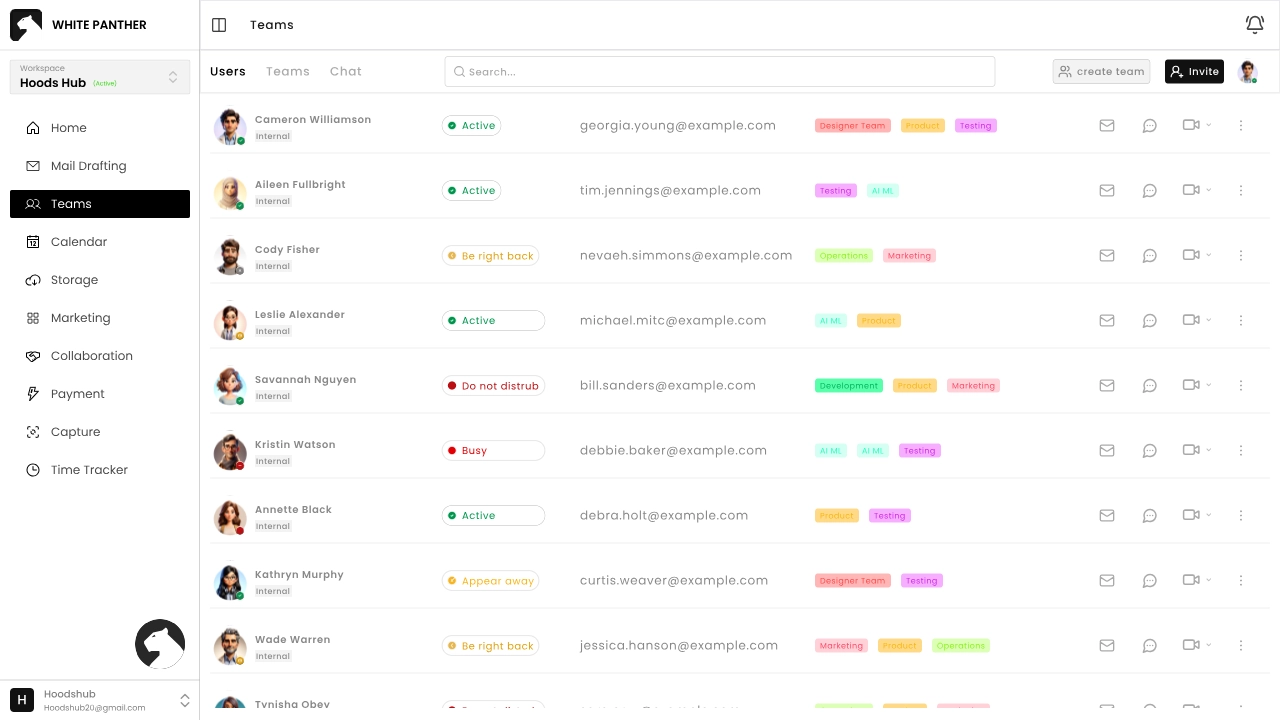
The Teams module lets you manage your organization’s members, create teams and chat with colleagues.
3.1 Viewing Users and Teams

3.2 Inviting New Members
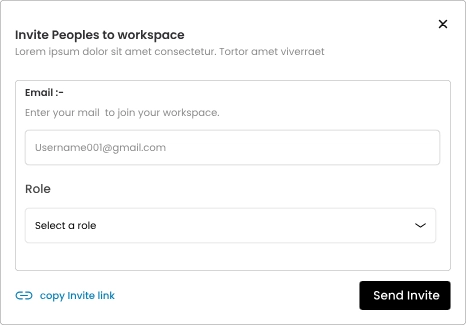
You can update a member’s role later by opening their user profile and choosing a different role.
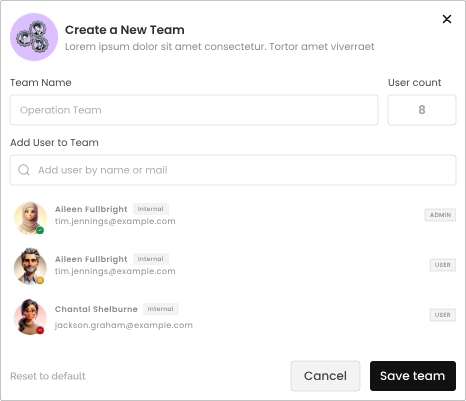
3.3 Creating Teams
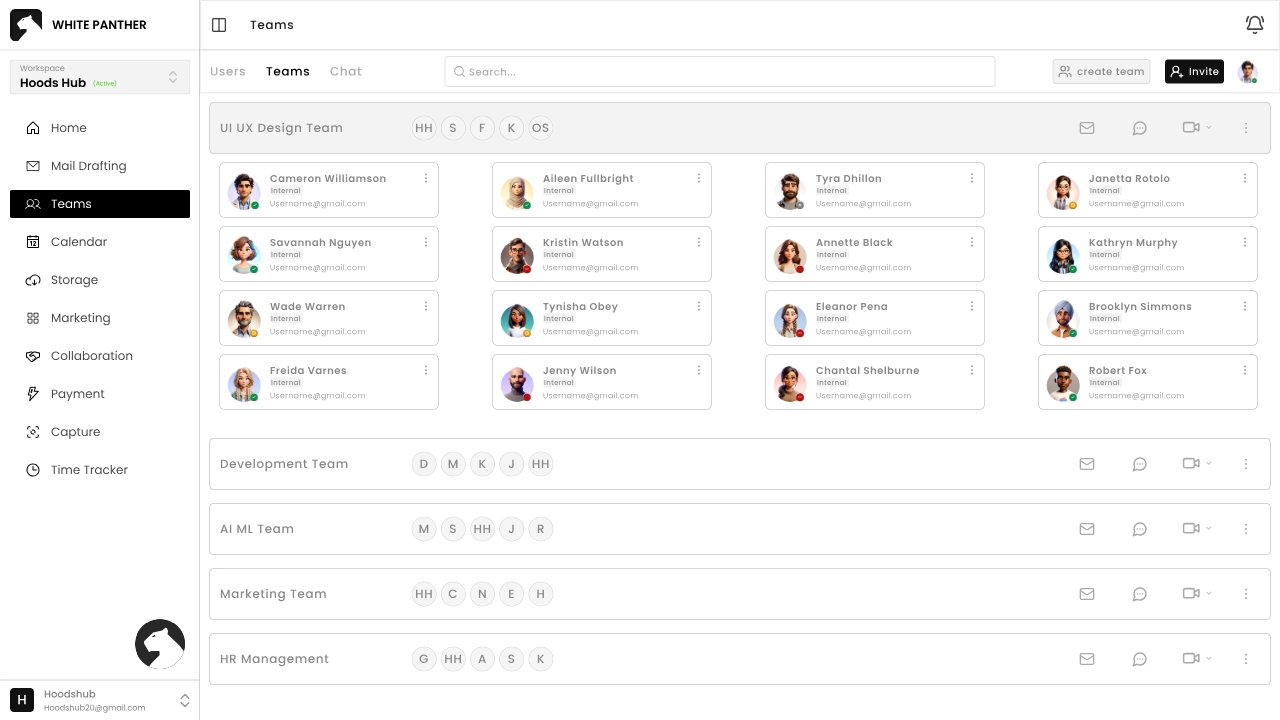
You can view or edit a team’s details by selecting it in the list.
3.4 Team Chat

The Calendar feature integrates with your Google and Outlook calendars so you can manage your schedule without leaving White Panther.
4.1 Connecting Calendars
Use the switch toggle in the upper‑right corner to switch between Google and Outlook calendars.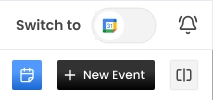
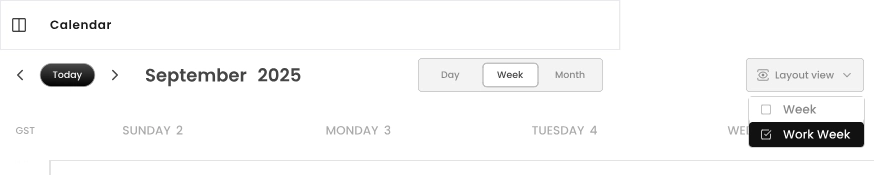
4.2 Viewing Your Schedule
4.3 Creating Events

Storage consolidates your files from Google Drive and Dropbox directly inside White Panther. It supports uploading, creating folders and sharing documents.
5.1 Connecting Storage Services

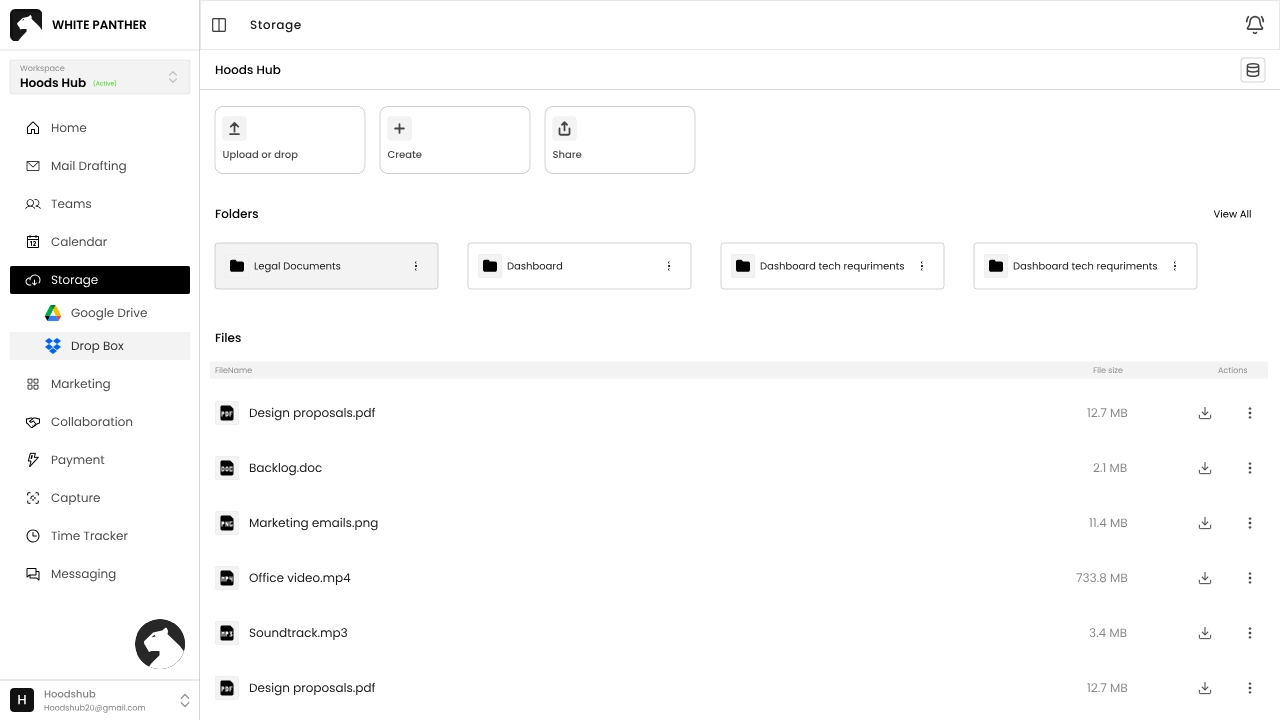
5.2 Navigating Storage
The Storage page is split into two sections:
Use the Upload or drop area at the top to upload files from your computer. Clicking Create lets you add new folders. Select files and choose Share to generate a shareable link.
5.3 Managing Files and Folders
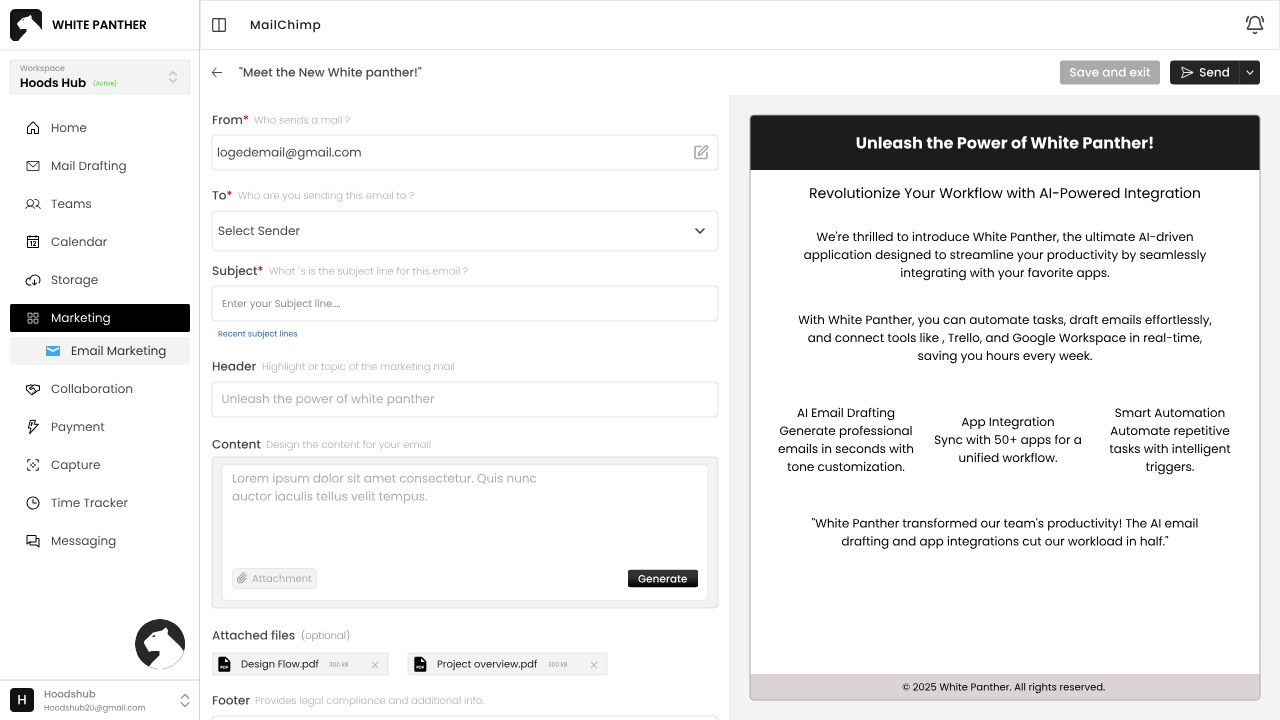
White Panther’s Email marketing module help you send professional campaigns and manage contacts.
6.1 Accessing Email Marketing

6.2 Working with Campaigns
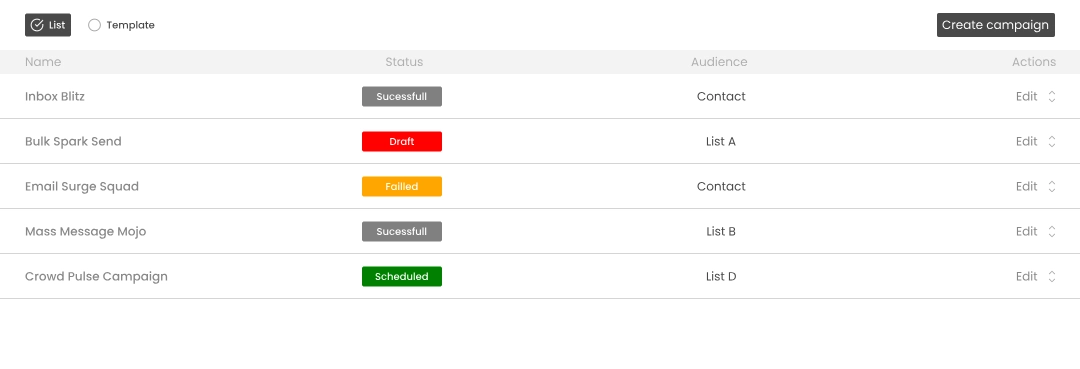
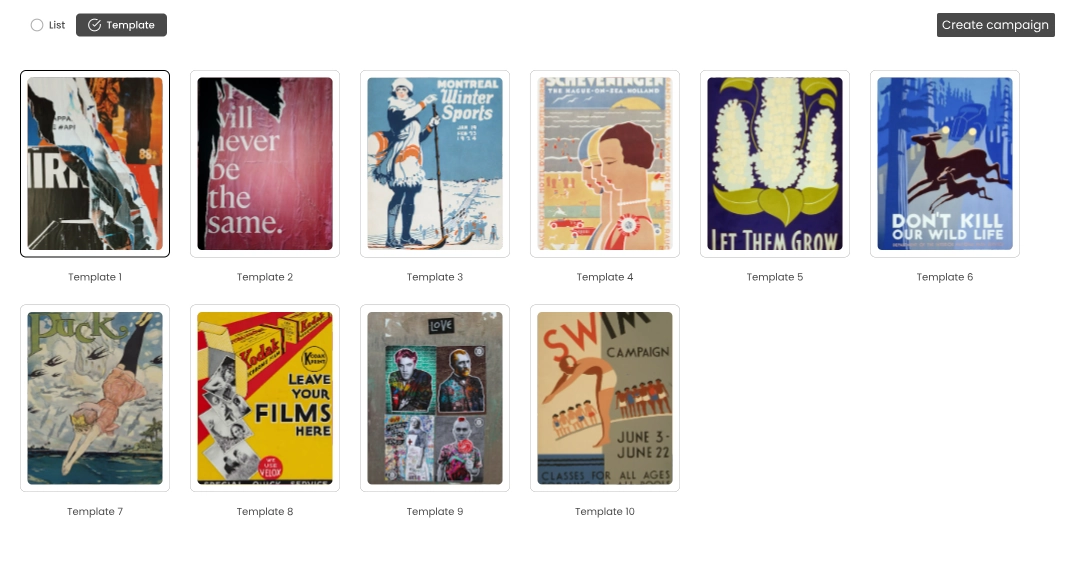
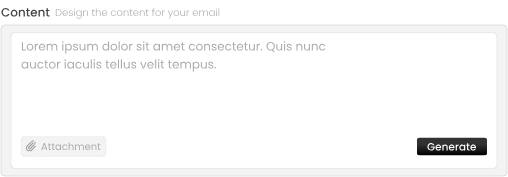
Creating a Campaign
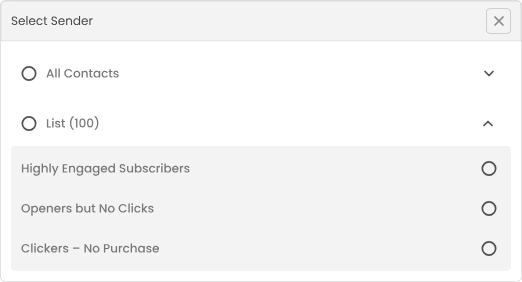

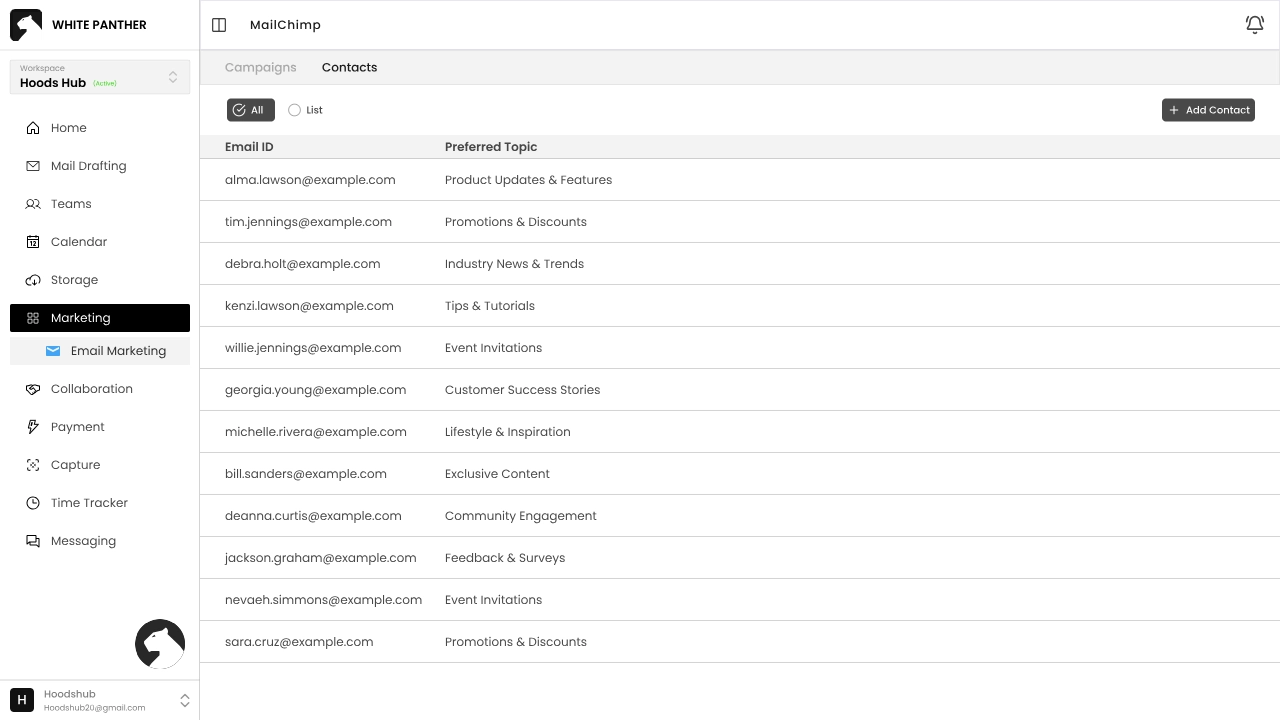
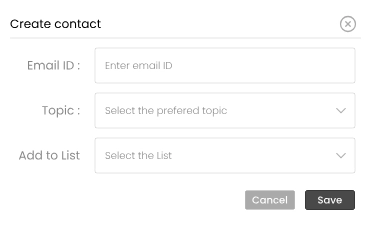
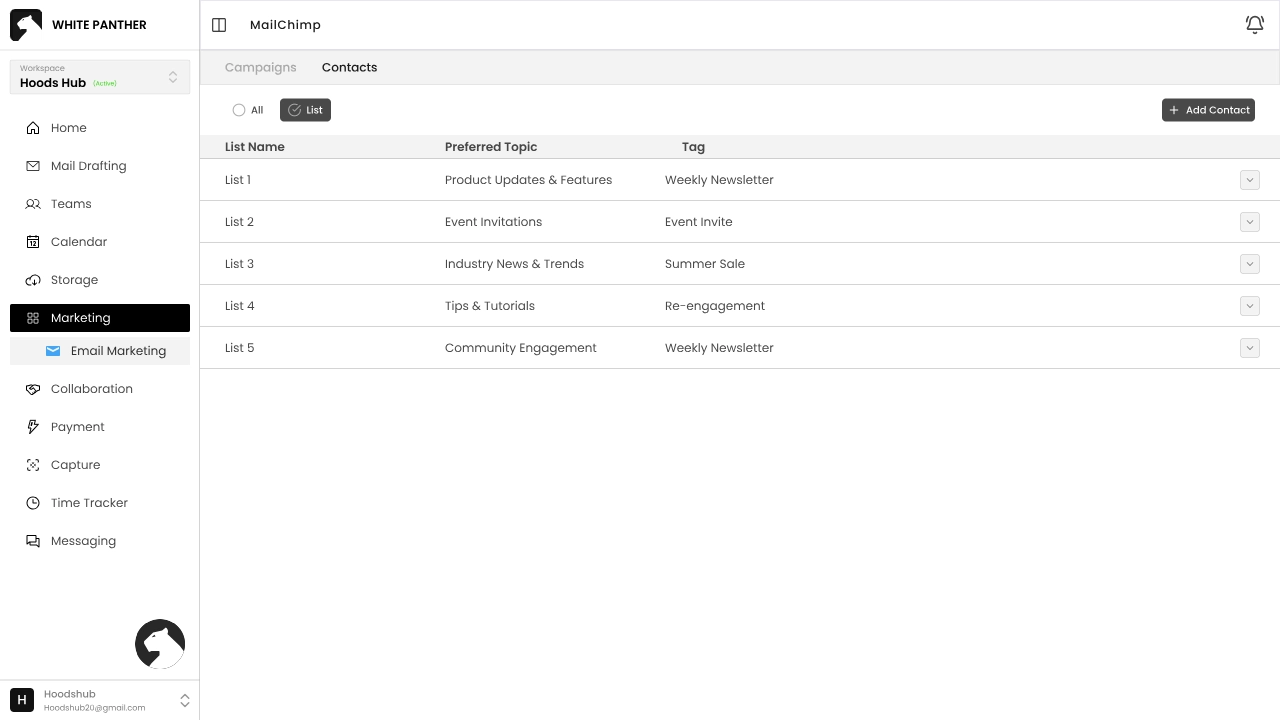
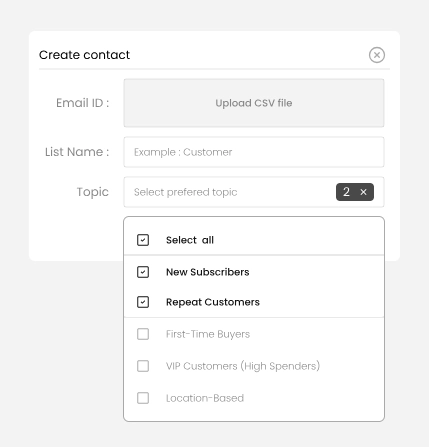
6.3 Managing Contacts
The Contacts tab includes two views: All and List.
The Collaboration feature integrates Trello boards directly into White Panther so you can manage tasks without switching apps.
7.1 Connecting Trello
7.2 Using Trello within White Panther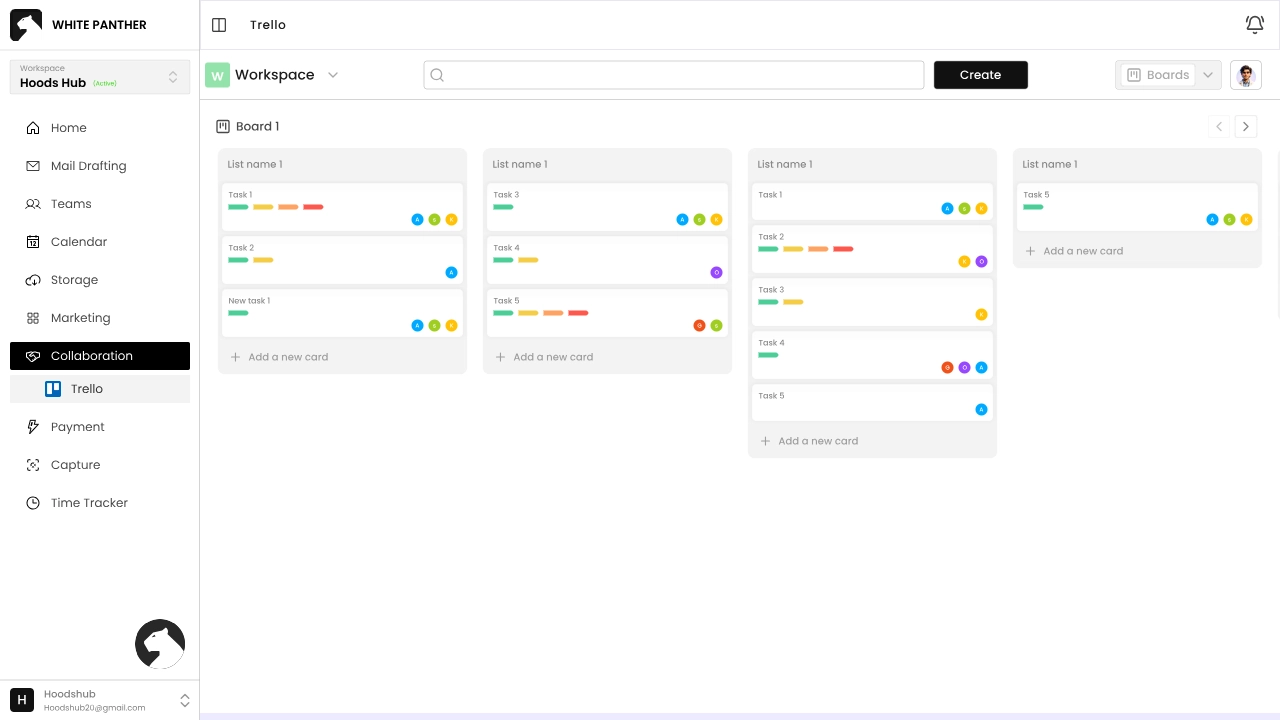
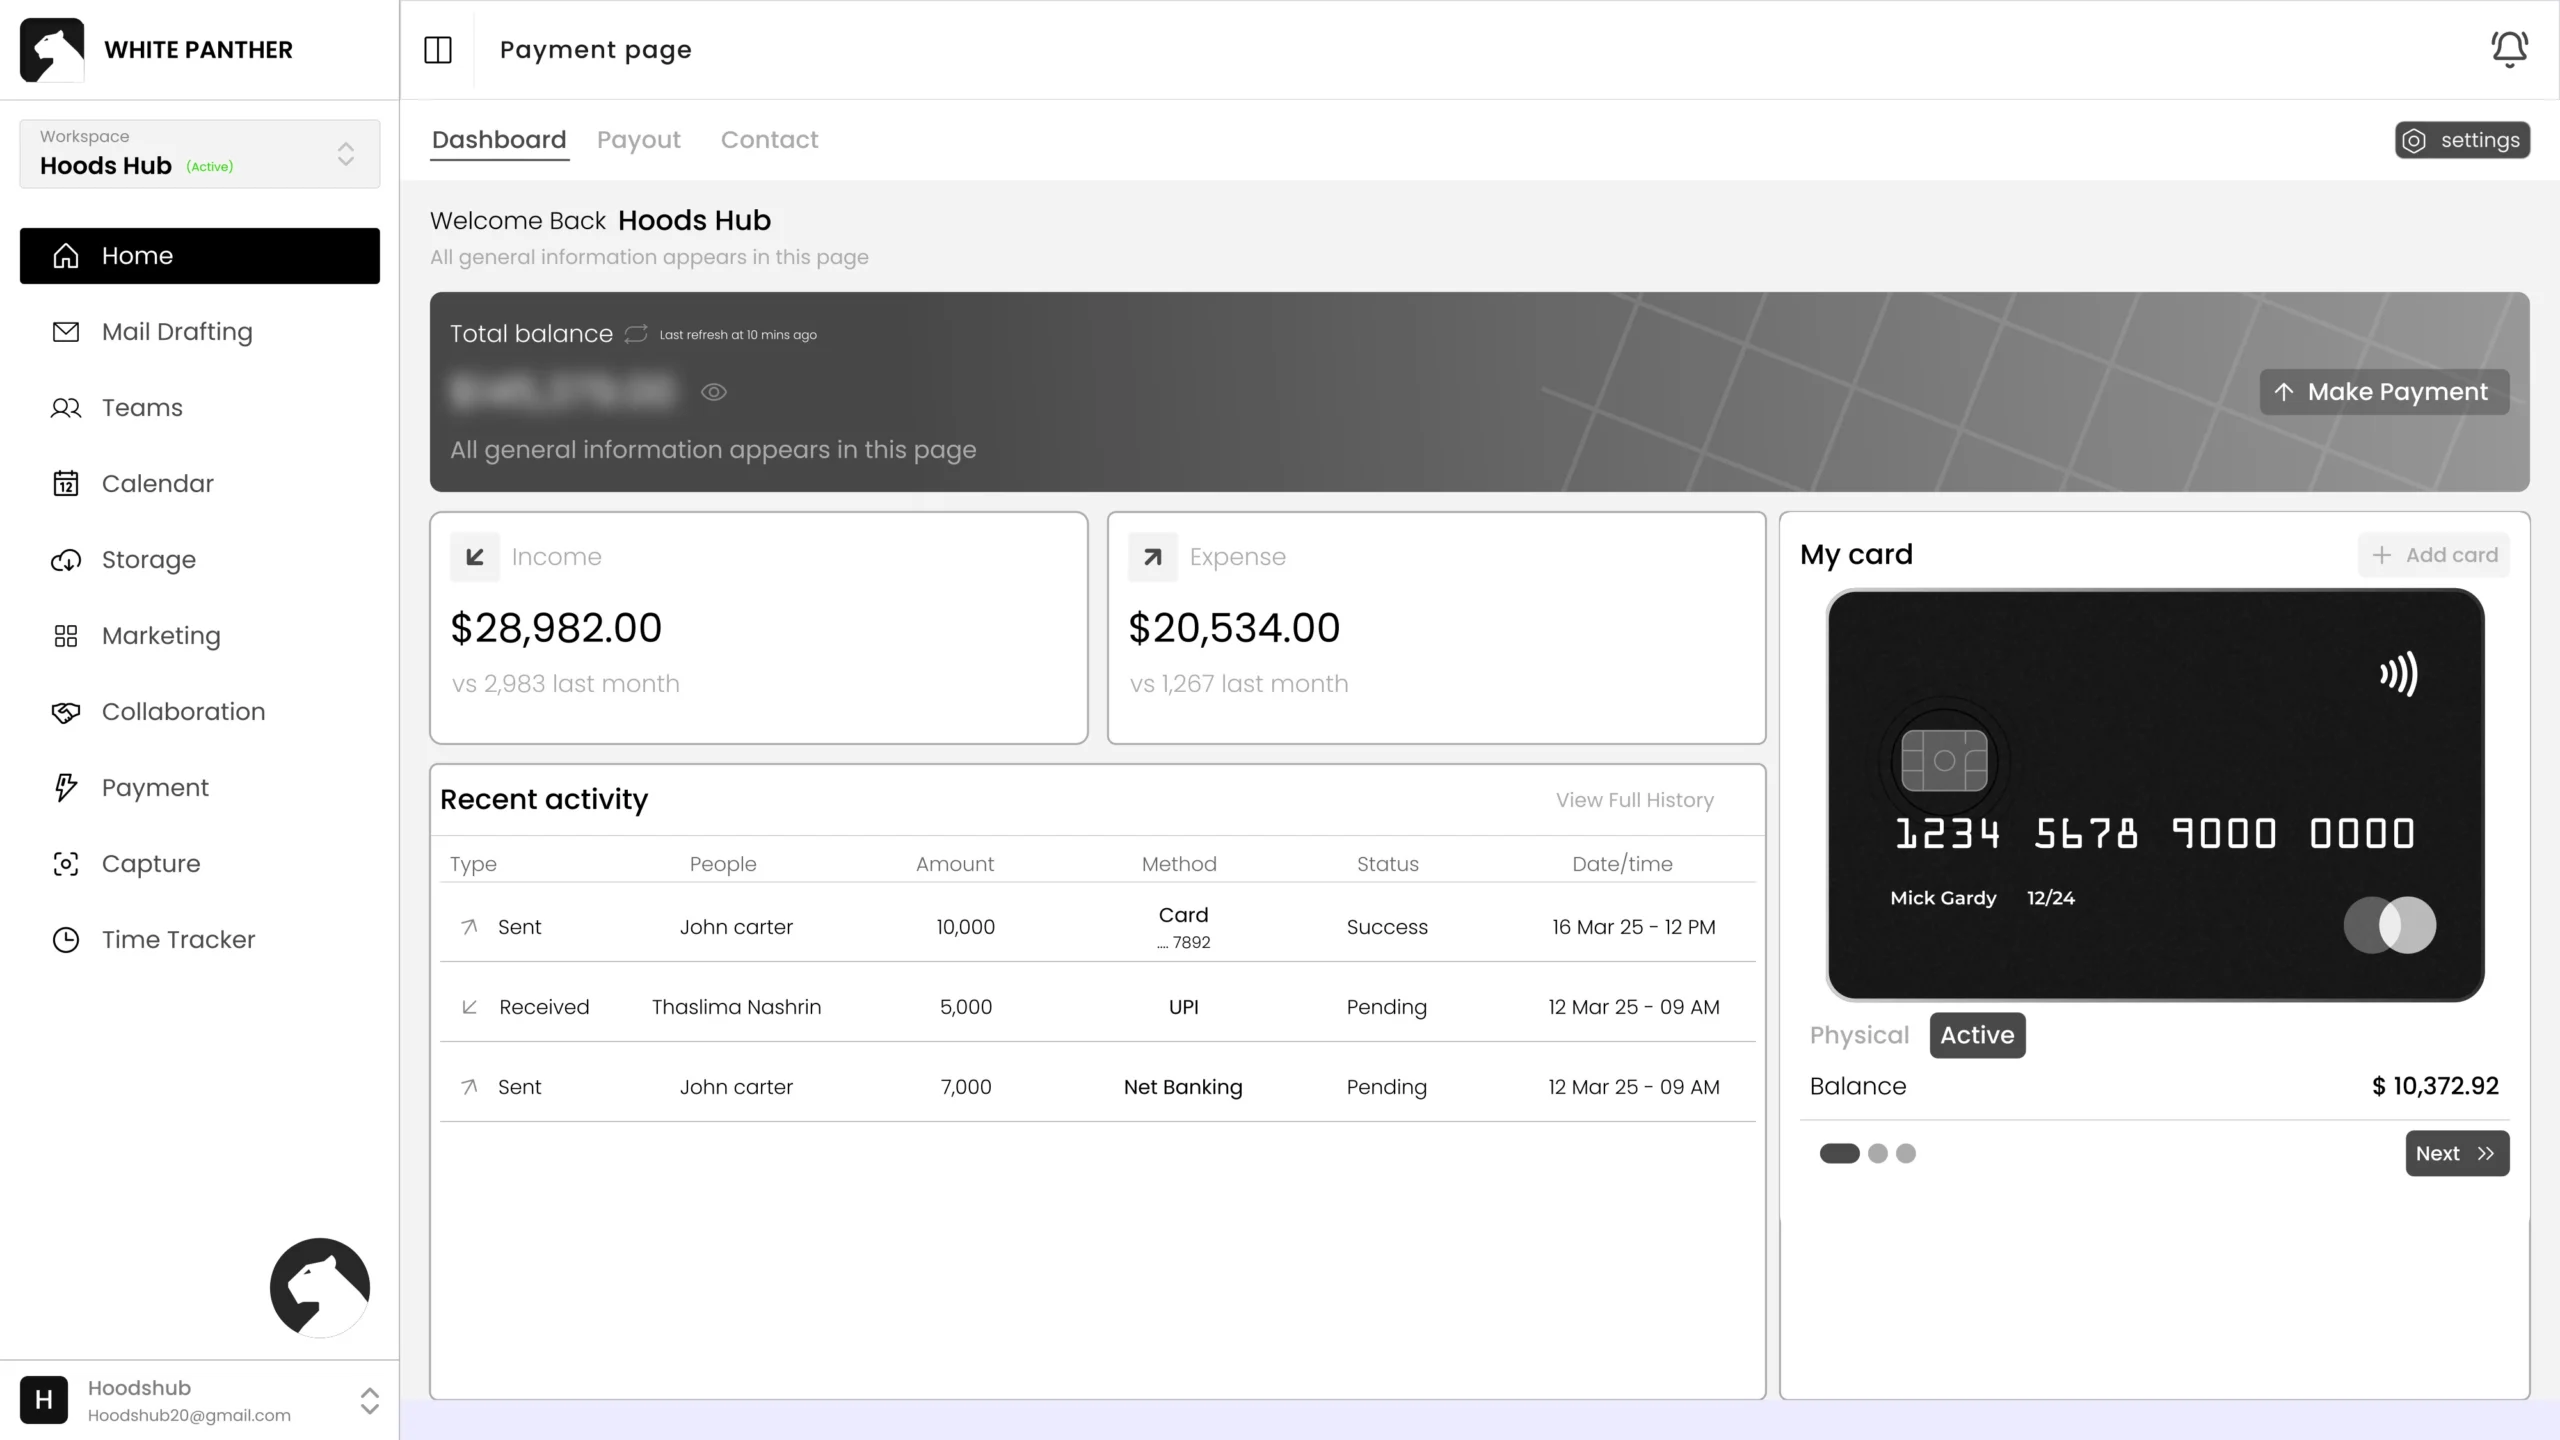
White Panther includes a Payment module powered by Razorpay for handling invoices, payouts and contact management.
8.1 Payment Dashboard
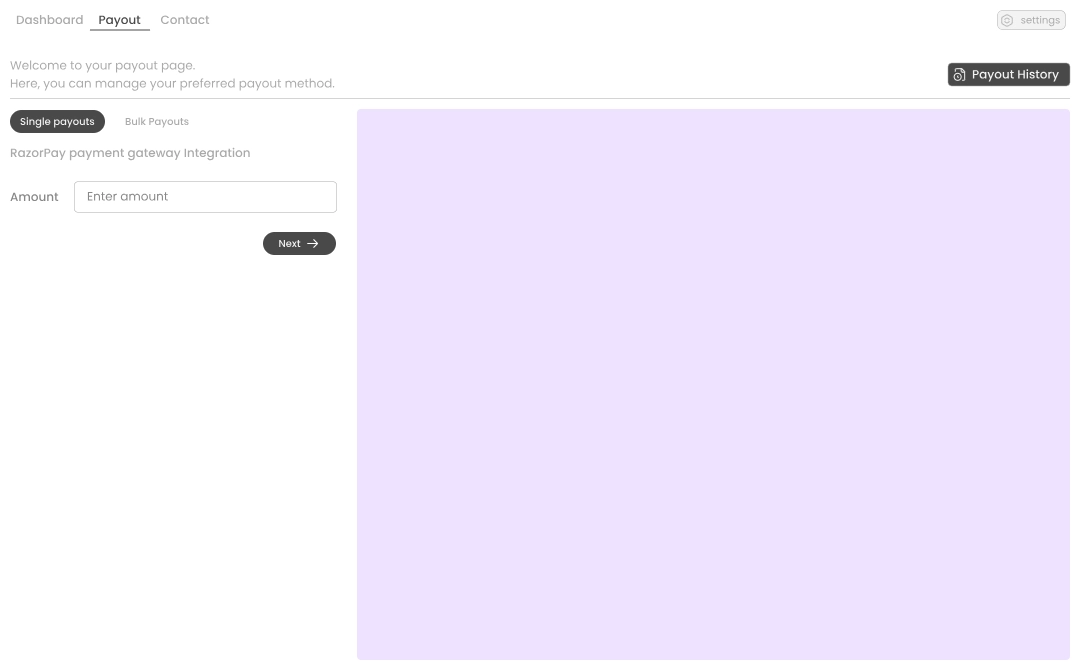
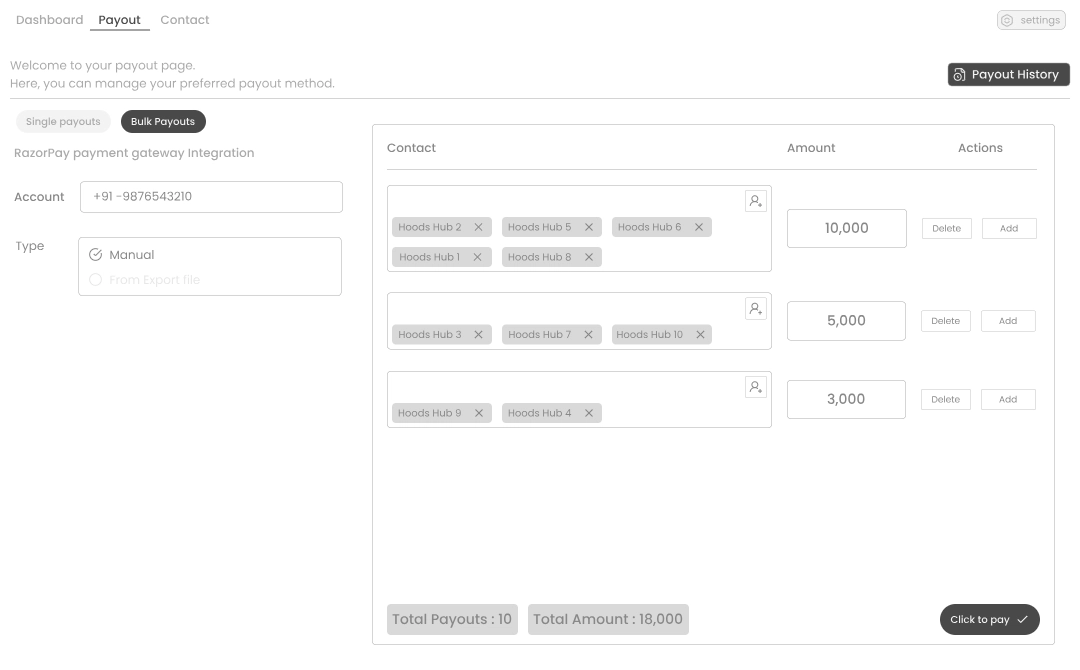
8.2 Payouts
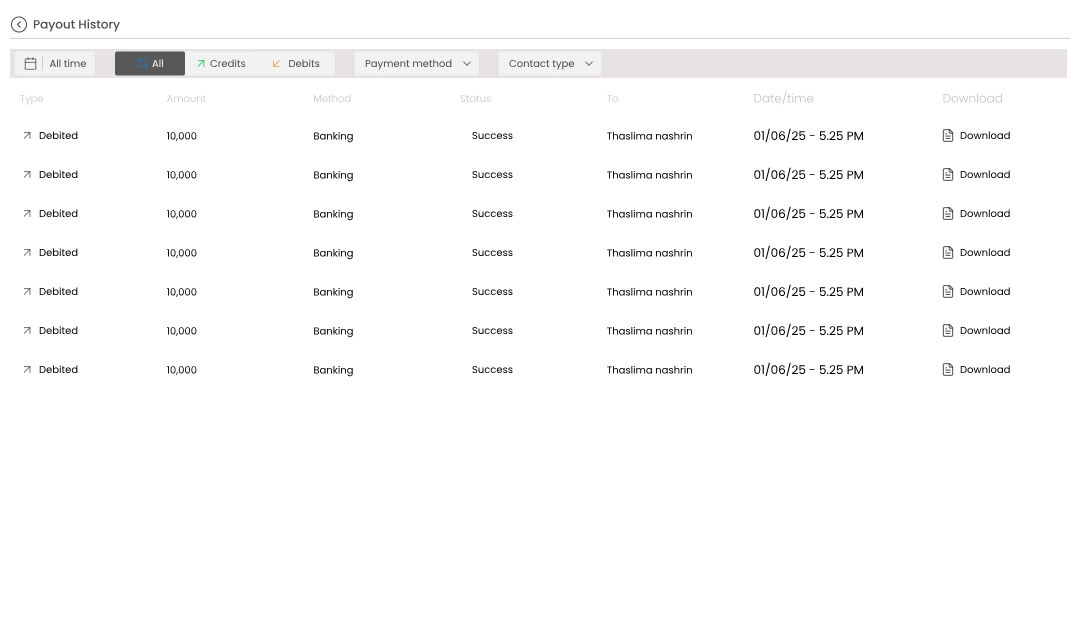
8.3 Payout History
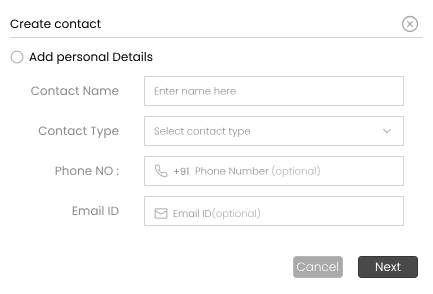
8.4 Payment Contacts
White Panther helps you manage payees within the payment module.
The Screen Recorder feature allows you to quickly capture your browser tab, window or entire screen – perfect for documenting training, demos or troubleshooting. All recordings are stored within White Panther so you can replay or share them later.
9.1 Starting a Recording


White Panther’s Time Tracker helps you log hours spent on tasks and projects, analyse productivity and integrate time data with calendars or project management tools.
There are Four tabs in this feature: Dashboard, Project Tracker, Analyze and Settings.
10.1 Dashboard
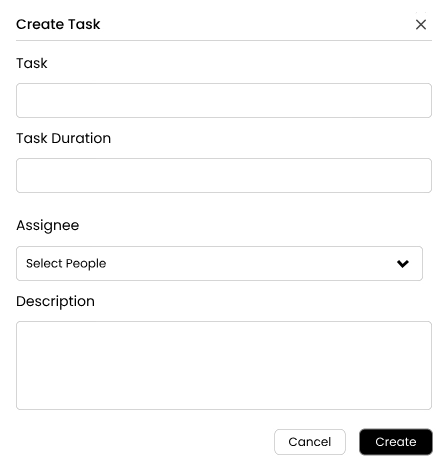
10.2 Project Tracker
The Project Tracker view lets you organise tasks under projects and start timers for each.![]()
10.3 Time Logs & Calendar View
10.4 Analyze
The Analyze tab summarises your team’s productivity, logged hours and approval statuses. ![]()
10.5 Settings
Customise how your time tracker behaves from the Settings tab.
![]()
![]()